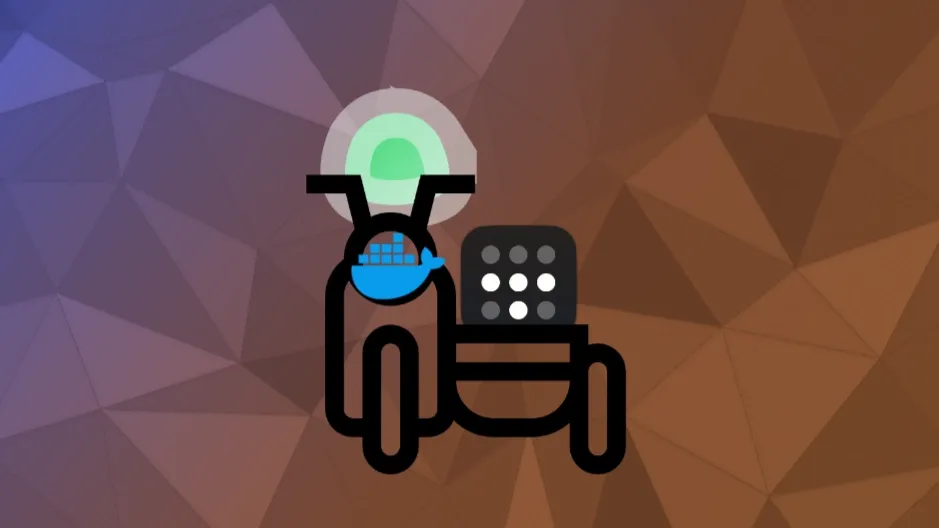
Tailscale sidecar for Uptime Kuma
Jan 2025
This tutorial shows how to setup an Uptime Kuma container with access to both the public internet as your private Tailnet using a Tailscale sidecar
- Tailscale
- Docker
- IT
- Homelab
Uptime Kuma is an amazingly simple tool to monitor the uptime of your services. For example, you can run it inside on your home LAN network and keep an eye on your homelab services and send notifications when something goes wrong. However, when the machine you run Uptime Kuma on goes down, then how do you get notified by that? A second Uptime Kuma instance on another machine ofcourse! Have the two monitor each other and unless they go down simultaneously then you will always get notified of at least one going down.
I like to keep this second machine outside my home network, because then will also be able to test the internet connection of my house. A cloud VPS is perferct for this role, mostly because most providers provide an uptime reliability of multiple nines after the decimal point.
However, you don't want the Uptime Kuma dashboard to be publically available. That is where Tailscale comes in. Tailscale lets you create a private mesh network that can reach across firewalls, to create a private piece of the internet that you can reach anywhere. It works by automatically creating and managing WireGuard VPN connections between "nodes" on your Tailscale network, also called Tailnet.
Tailscale sidecar
The officially recommend way to attach a docker service to your Tailnet is to create a so-called Tailscale sidecar. In the docker compose file you specify the service you want on your Tailnet, in this case: Uptime Kuma.
services:
  uptime-kuma:
    image: louislam/uptime-kuma:1.23
    container_name: uptime-kuma
    volumes:
      - uptimekuma-data:/app/data
    restart: unless-stopped

volumes:
  uptimekuma-data:
Then add a second service with the tailscale image with an Authkey or OAuthkey in the environment variables. In general, the Authkeys are simpler and the OAuthkeys allows for finer access control. This video from Tailscale shows how to use both and you can choose what you want to use.
services:
  uptime-kuma:
    image: louislam/uptime-kuma:1.23
    container_name: uptime-kuma
    volumes:
      - uptimekuma-data:/app/data
    restart: unless-stopped

  uptime-kuma-ts:
    image: tailscale/tailscale:v1.78
    container_name: uptime-kuma-ts
    hostname: uptime-kuma-vps
    environment:
      - TS_AUTHKEY=<tailscale authkey>
      - TS_STATE_DIR=/var/lib/tailscale
      - TS_USERSPACE=false
    volumes:
      - uptimekuma-ts:/var/lib/tailscale
    devices:
      - /dev/net/tun:/dev/net/tun
    cap_add:
      - net_admin
      - sys_module
    restart: unless-stopped

volumes:
  uptimekuma-data:
  uptimekuma-ts:
When we spin this up with docker compose up, the tailscale container connects to our Tailnet and will be available in our machines section. However, if we then connect to this container using the hostname we set and the port of the Uptime Kuma service (http://uptime-kuma-vps:3001) we are not able to reach our Uptime kuma instance. That is because the Uptime Kuma and Tailscale services run on two separate entities connected via a network, which is the default behavior of a docker compose file.
We actually want that these services would run in the same environment. We can do this by adding network_mode: service:uptime-kuma-ts to the Uptime Kuma service. Which forces these two containers to act as if they were on the same localhost network and thus the Uptime Kuma service on port 3001 will now be available from the Tailscale container.
services:
  uptime-kuma:
    image: louislam/uptime-kuma:1.23
    container_name: uptime-kuma
    volumes:
      - uptimekuma-data:/app/data
    restart: unless-stopped
    network_mode: service:uptime-kuma-ts
    depends_on:
      - uptime-kuma-ts

  uptime-kuma-ts:
    image: tailscale/tailscale:latest
    hostname: uptime-kuma-vps
    environment:
      - TS_AUTHKEY=<tailscale authkey>
      - TS_STATE_DIR=/var/lib/tailscale
      - TS_USERSPACE=false
    volumes:
      - uptimekuma-ts:/var/lib/tailscale
    devices:
      - /dev/net/tun:/dev/net/tun
    cap_add:
      - net_admin
      - sys_module
    restart: unless-stopped

volumes:
  uptimekuma-data:
  uptimekuma-ts:
Now we have an Uptime Kuma container with a Tailscale sidecar container. This extends the Uptime Kuma image with tailscale functionality, without having to create a custom image.
Pendantry Corner
Actually the Uptime Kuma container is the sidecar here, as we attach this container to the tailscale container. This extends the functionality of the Tailscale container with the Uptime Kuma service. But since it is more logical to think about extending the actual service you want with tailscale, it is easier to say that we sidecar Tailscale in this case.*Monitor Services outside your Tailnet
The main reason I wrote this blog post is that I had trouble trying to monitor both inside and outside my Tailnet. The sidecarring process also gives the Uptime Kuma container the same nameserver as the tailscale container, which points to the nameserver within your Tailnet. This allowed me only to monitor tailnet devices, when I had the side car, and only monitor devices outside my tailnet when I removed the sidecar.
The Tailscale docs mention how to set a global DNS nameserver for your Tailnet, but when I followed these intstructions, my Uptime Kuma container was still not able to reach anything outside the Tailnet.
To resolve this problem, you can add nameservers within your docker compose. Add a dns: entry in the tailscale service with your tailnet nameserver first and then any other public dns nameserver, like the one from Cloudflare (1.1.1.1 and 1.0.0.1).
services:
  uptime-kuma:
    image: louislam/uptime-kuma:1.23
    container_name: uptime-kuma
    volumes:
      - uptimekuma-data:/app/data
    restart: unless-stopped
    network_mode: service:uptime-kuma-ts
    depends_on:
      - uptime-kuma-ts

  uptime-kuma-ts:
    image: tailscale/tailscale:latest
    hostname: uptime-kuma-vps
    environment:
      - TS_AUTHKEY=<tailscale authkey>
      - TS_STATE_DIR=/var/lib/tailscale
      - TS_USERSPACE=false
    volumes:
      - uptimekuma-ts:/var/lib/tailscale
    devices:
      - /dev/net/tun:/dev/net/tun
    cap_add:
      - net_admin
      - sys_module
    restart: unless-stopped
    dns:
      - 100.100.100.100
      - 1.1.1.1
      - 1.0.0.1

volumes:
  uptimekuma-data:
  uptimekuma-ts:
This will let Uptime Kuma first search within your Tailnet and when it can't find a service, then it will search for it on the public DNS servers. It is important that the Tailscale nameserver comes first. That is because if you use the Magic DNS name entries for any of your monitors, then these will first look on the public DNS server for the .net and ts.net entries, which they will find. But your tailnet name, will be offline and thus the monitor will always say down.
Note: It is definitely possible to get a global nameserver working in your Tailnet and then this dns: entry in the docker compose will not be necessary. But since I currently only need this Uptime Kuma container to reach public nameservers, I do not mind this workaround.
Conclusion
This setup allows you to monitor your services with the reliability of an offsite VPS without having to open it up to the world.
Tailscale sidecaring can be used for many other services making them directly available on your Tailnet. These sidecars have the advantage that when you move them between physical hosts, their tailnet IP and hostname don't change (as long as you keep using the same key). This makes them very portable.